
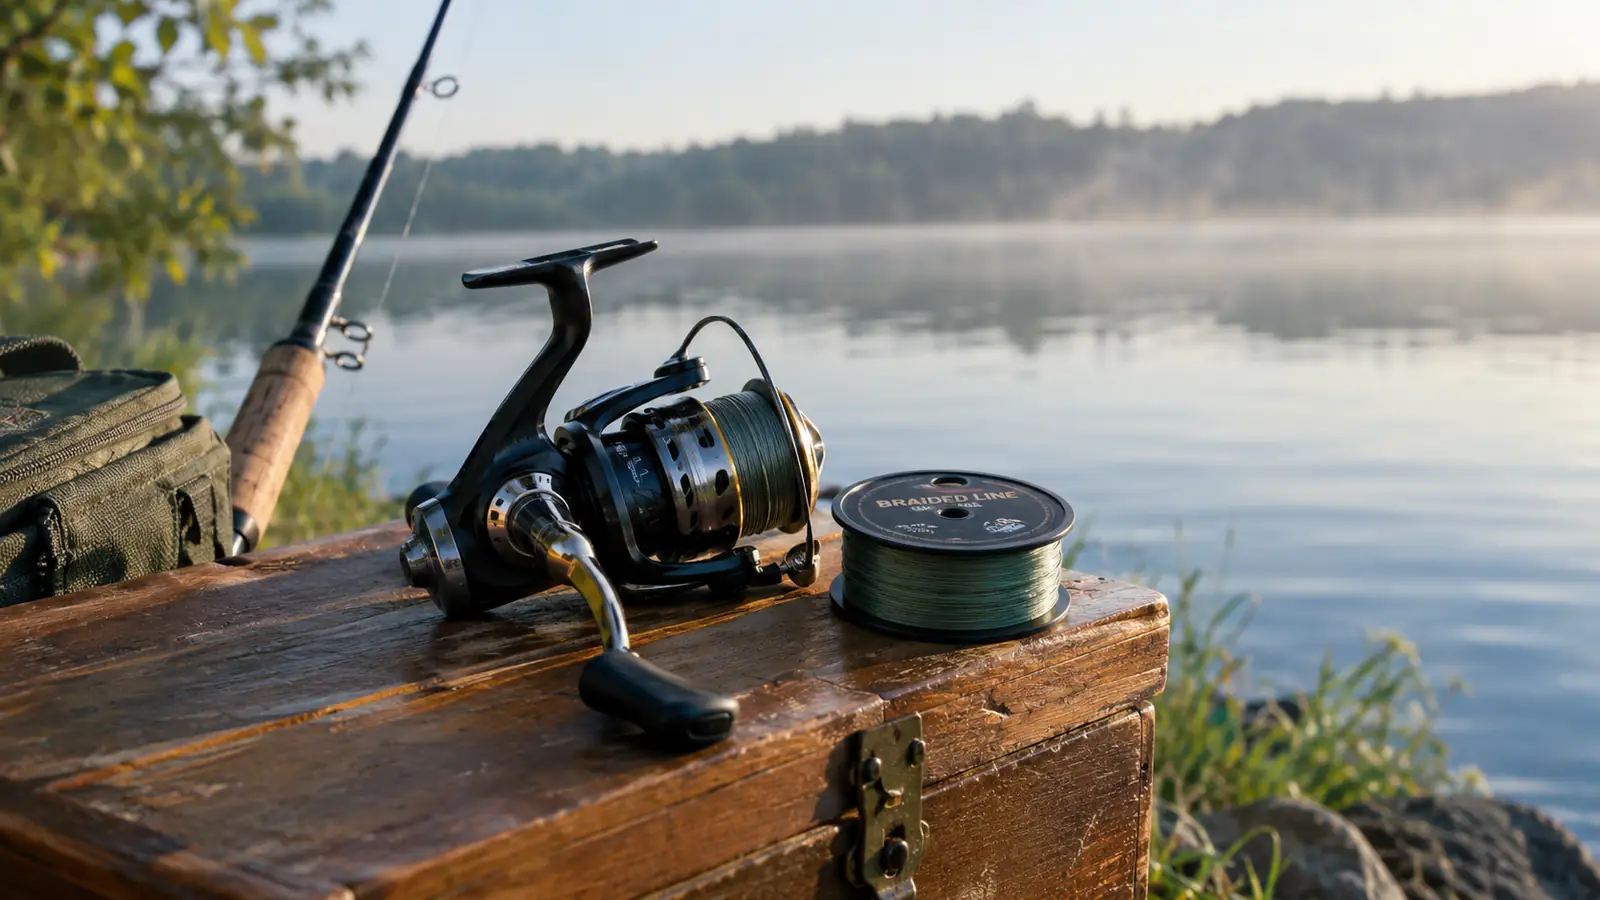
The first time I put braided line on a spinning reel, I tied it straight to the bare spool, filled it to the rim, and went fishing. By the third cast I had a wind knot the size of a walnut, and by lunch the line had slipped and spun on the spool like it was greased. I sat on the bank with my dog Scout, picked at that mess for twenty minutes, and finally cut the whole spool off and went back to monofilament. That was before I learned how to spool braided line the right way. Most of the trouble people blame on braid is actually a spooling problem, not a line problem.
Over the past few seasons I've settled on a routine that works every time. I use KastKing Superpower Braid on most of my spinning reels because it lays flat, casts smooth, and holds up to the rocks and brush around the lake where I fish. It's the line I trust when I'm fishing from my 14-foot jon boat or standing on the bank at dawn. I've spooled it on ultralight, spinning, and baitcasting reels, and the routine is the same for all of them. Here's the step by step way I spool it, from the first knot to the final fill. It takes about ten minutes once you've done it a couple times, and it saves you from the worst part of fishing, which is standing in the dark trying to untangle a reel.
Start with line that casts clean
KastKing Superpower Braid is the line I reach for when I'm spooling a spinning reel. Check today's price on Amazon and see why it has over 34,000 reviews from anglers who fish it hard.
Amazon Check Today's Price on Amazon →Step 1: Match the line to the reel
Before you touch the spool, look at the side of your reel. Every spinning reel has a line rating printed on it, usually something like '6-12 lb' or '8-15 lb.' That number is the range of monofilament the manufacturer recommends, and it's your starting point for choosing braid. Braid is thinner than mono at the same strength, so you can go up in pound test without going up in diameter.
On my 2500-size spinning reels, I run 15-pound KastKing Superpower. That's roughly the same diameter as 6-pound mono, but it has the abrasion resistance to handle the stumps and laydowns I fish around. If you fish open water for smaller fish, 10-pound braid is plenty. If you're flipping around heavy cover, 20 or 30 pound is worth it. Match the diameter to what the reel casts best, not just the pound test.
If you're new to braid, the pound test can be confusing. A 15-pound braid is much thinner than a 15-pound monofilament, so it casts farther and holds more line on the spool. That's the whole reason to switch. Just remember that the reel's line rating is about diameter, not strength. Stay close to the diameter range on the reel and you'll avoid the two biggest problems: line that digs in on the cast and line that doesn't have enough capacity.
Step 2: Back the spool before you add braid
Braided line is slick, and on a smooth metal or plastic spool it can slip under heavy pressure. The fix is a layer of backing. I keep a cheap spool of 10-pound monofilament in my tackle bag for this. I tie the mono to the spool with an arbor knot, then wind on about 20 yards. That's enough to give the braid something to bite into without wasting the good line.
Some folks skip the backing and use a strip of electrical tape over the knot, and that works too. I've done both. The tape method is faster, but the mono backing gives the spool a little more cushion and makes the braid sit tighter. Either way, the goal is the same: the braid should never spin on the spool when a big fish takes drag. I learned that lesson the hard way on a catfish that stripped a full spool of braid while the reel spun free.
I know some guys who don't bother with backing and just tie braid straight to the spool with a piece of tape over the arbor knot. It can work, especially if you keep your drag light. But I've had a big bluegill run drag hard enough to spin the whole spool, and once that happens you might as well be fishing with a rubber band. The ten minutes it takes to add backing is cheap insurance, and it means you use every inch of your braid instead of throwing away the last 20 yards because it's twisted or worn from the knot.
Step 3: Run the line through the guides first
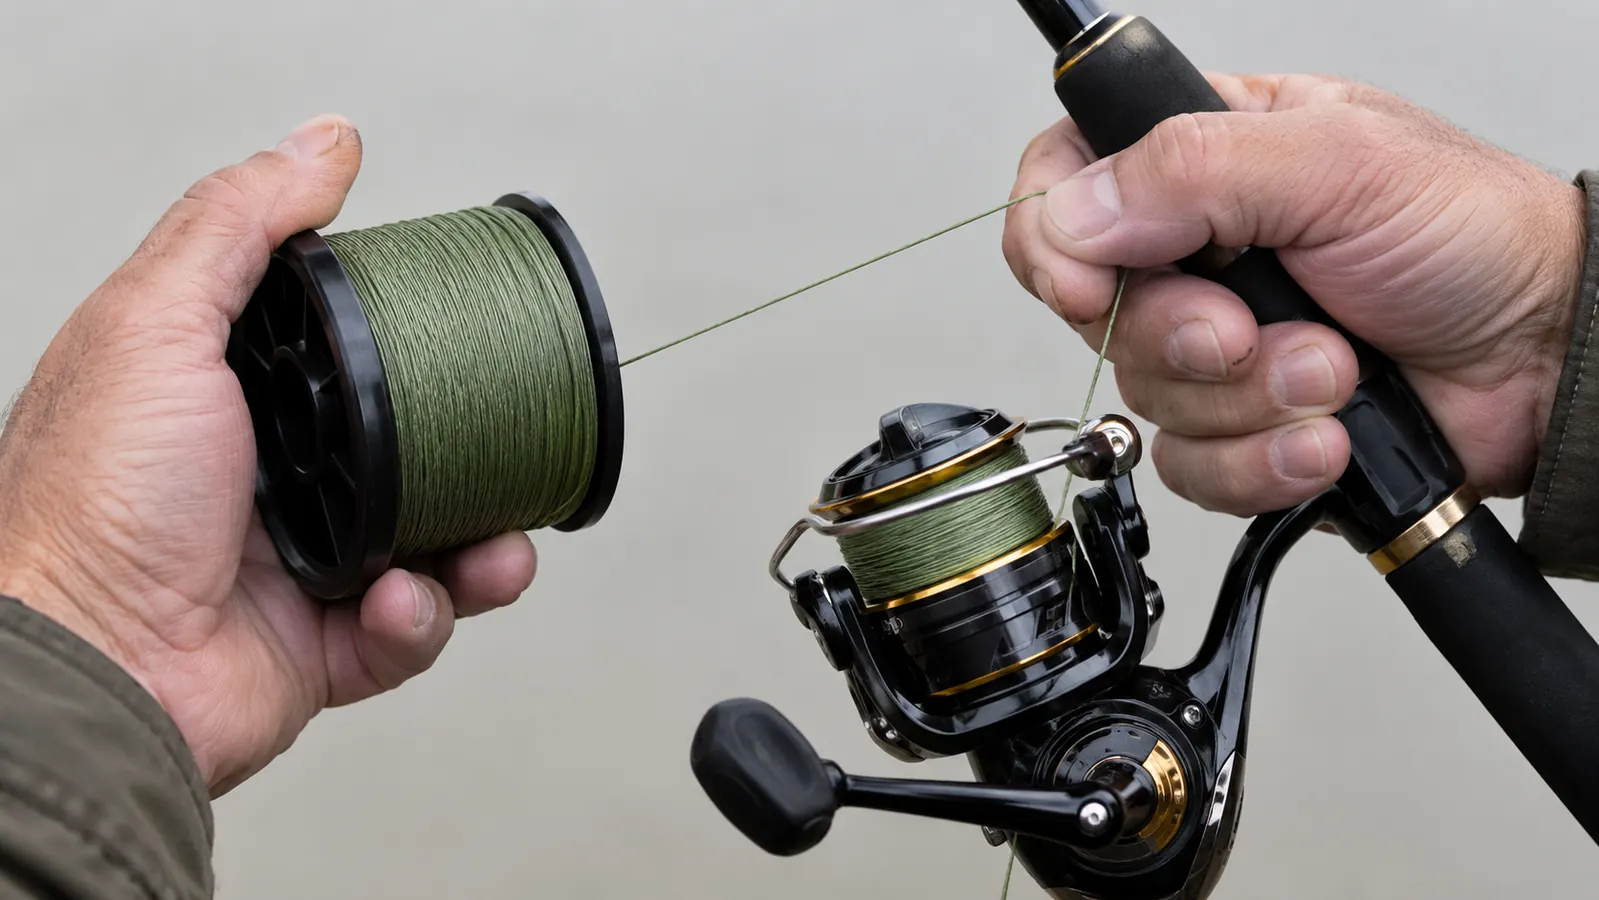
Here's the step most people skip. Open the bail, run the braid up through the rod guides from the tip down to the reel, then tie it to the spool. The line needs to come off the filler spool the same direction it will come off the reel. If you tie it without running it through the guides, you can't see whether the line is twisting before it ever reaches the spool.
Use an arbor knot on the spool. It's simple: wrap the braid around the spool, tie an overhand knot around the standing line, then tie a second overhand knot in the tag end and pull it tight against the first. Trim the tag close. Then close the bail and start winding. The line should lay onto the spool smooth and flat, not cross over itself.
One more detail on direction. Braid comes off a filler spool the way it was wound at the factory, and if you wind it onto your reel backwards, you'll fight line twist all day. The easiest way to check is to let a little line off the filler spool and see which way it curls. If it curls opposite the way your bail turns, flip the filler spool over before you start. I've made this mistake more than once, and it always ends with a tangle that makes me want to sell the reel.

Step 4: Keep tension on the line while you wind
Tension is the whole game. Braid needs steady pressure to lay tight on the spool. If you let the line go slack, it will bury into the layers below it, and the first time you cast, that buried line will pop loose in a tangle. I hold the line with my fingers a few feet above the reel, pinching just hard enough that the line slides through with resistance. A wet rag or a folded paper towel works even better because it keeps the heat down.
Fill the spool until the line sits about an eighth of an inch below the lip. Overfilling is the other big mistake. When the spool is too full, loops of braid slide off on the cast and wrap around the handle. Underfilling hurts casting distance because the line has to climb over the spool edge. An eighth of an inch is the sweet spot on every spinning reel I own, from my little ultralight to the 4000-size reel I use for catfish.
One thing I'll add about tension: don't use so much pressure that you stretch the line as it goes on. Braid doesn't stretch much, but it can still deform if you crank it down hard against the spool. You want the line to lay snug, not tight enough to sing. I hold the line with just enough pressure that it slides through my fingers without burning them. If your fingers get hot or sore, you're squeezing too hard. Let the reel do the work and use your hand as a guide, not a brake.
Step 5: Set the line before you fish
Once the spool is full, tie the braid to something solid, a tree, a fence post, or the trailer hitch on my pickup. Walk back a few yards, close the bail, and crank the handle a few turns with the rod bent. This seats the braid into the spool and takes out any slack from the spooling process. Braid has almost no stretch, so you don't need much, just enough to pull the line tight.
Then make a few practice casts in the yard before you hit the water. If the line comes off the spool smooth and the lure flies straight, you're done. If you see a loop forming, strip the line off and start the last step over. It sounds like extra work, but it's the difference between a reel that casts clean all day and a reel that turns into a birdsnest on your first bass. Scout usually watches from the yard, and he's learned to stay clear when the lure starts flying.
One last habit that saves me grief: I number my reels with a piece of tape on the reel foot so I know what line is on each one. When I spool a reel, I write the date and the pound test on the tape. That way I don't have to guess whether the 2500-size has 10 or 15 pound on it when I'm loading the boat before daylight. It's a small thing, but it keeps me from fishing with the wrong line for the wrong job, and it makes the ten minutes I spend spooling last a whole season.
What Else Helps
A cheap line winder is nice but not necessary. I spooled reels by hand for years before I bought one. What matters more is a clean, flat surface to work on and a pair of scissors with a sharp edge. I also keep a small spool of monofilament in the truck for backing, because there's nothing worse than getting halfway through a spooling job and realizing you don't have anything to back the reel with. And if you're spooling multiple reels, write the line weight on a piece of tape and stick it on the spool. Future you will thank you when you're standing on the bank at sunrise trying to remember what's on that reel.
Another thing worth doing is to keep the filler spool from flipping around while you wind. I set mine in a shallow box or between my knees so it feeds smoothly. If the spool bounces, the line will pick up twists before it ever reaches the reel. Some folks use a dowel through the spool or a spare rod laid across a bucket. Whatever works for you, the goal is a straight, steady feed from the filler spool to the reel.
One more thing I do on reels I fish hard: after the first trip, I strip the line off and re-spool it once, just to reset the lay. Braid can take a set after a day of casting, especially if you caught a few fish that pulled drag. Re-spooling takes five minutes and it keeps the line fresh for the rest of the season. I know it sounds like extra work, but I'd rather spend five minutes at the kitchen table than twenty minutes on the water with a tangled reel.
The best spooling job I ever did took ten minutes, and that reel cast clean for three seasons without the braid slipping once.
Spool it right the first time
KastKing Superpower Braid lays flat, casts smooth, and holds up to hard use. Do the job right and it will stay put for years. Check today's price on Amazon.
Amazon Check Today's Price on Amazon →